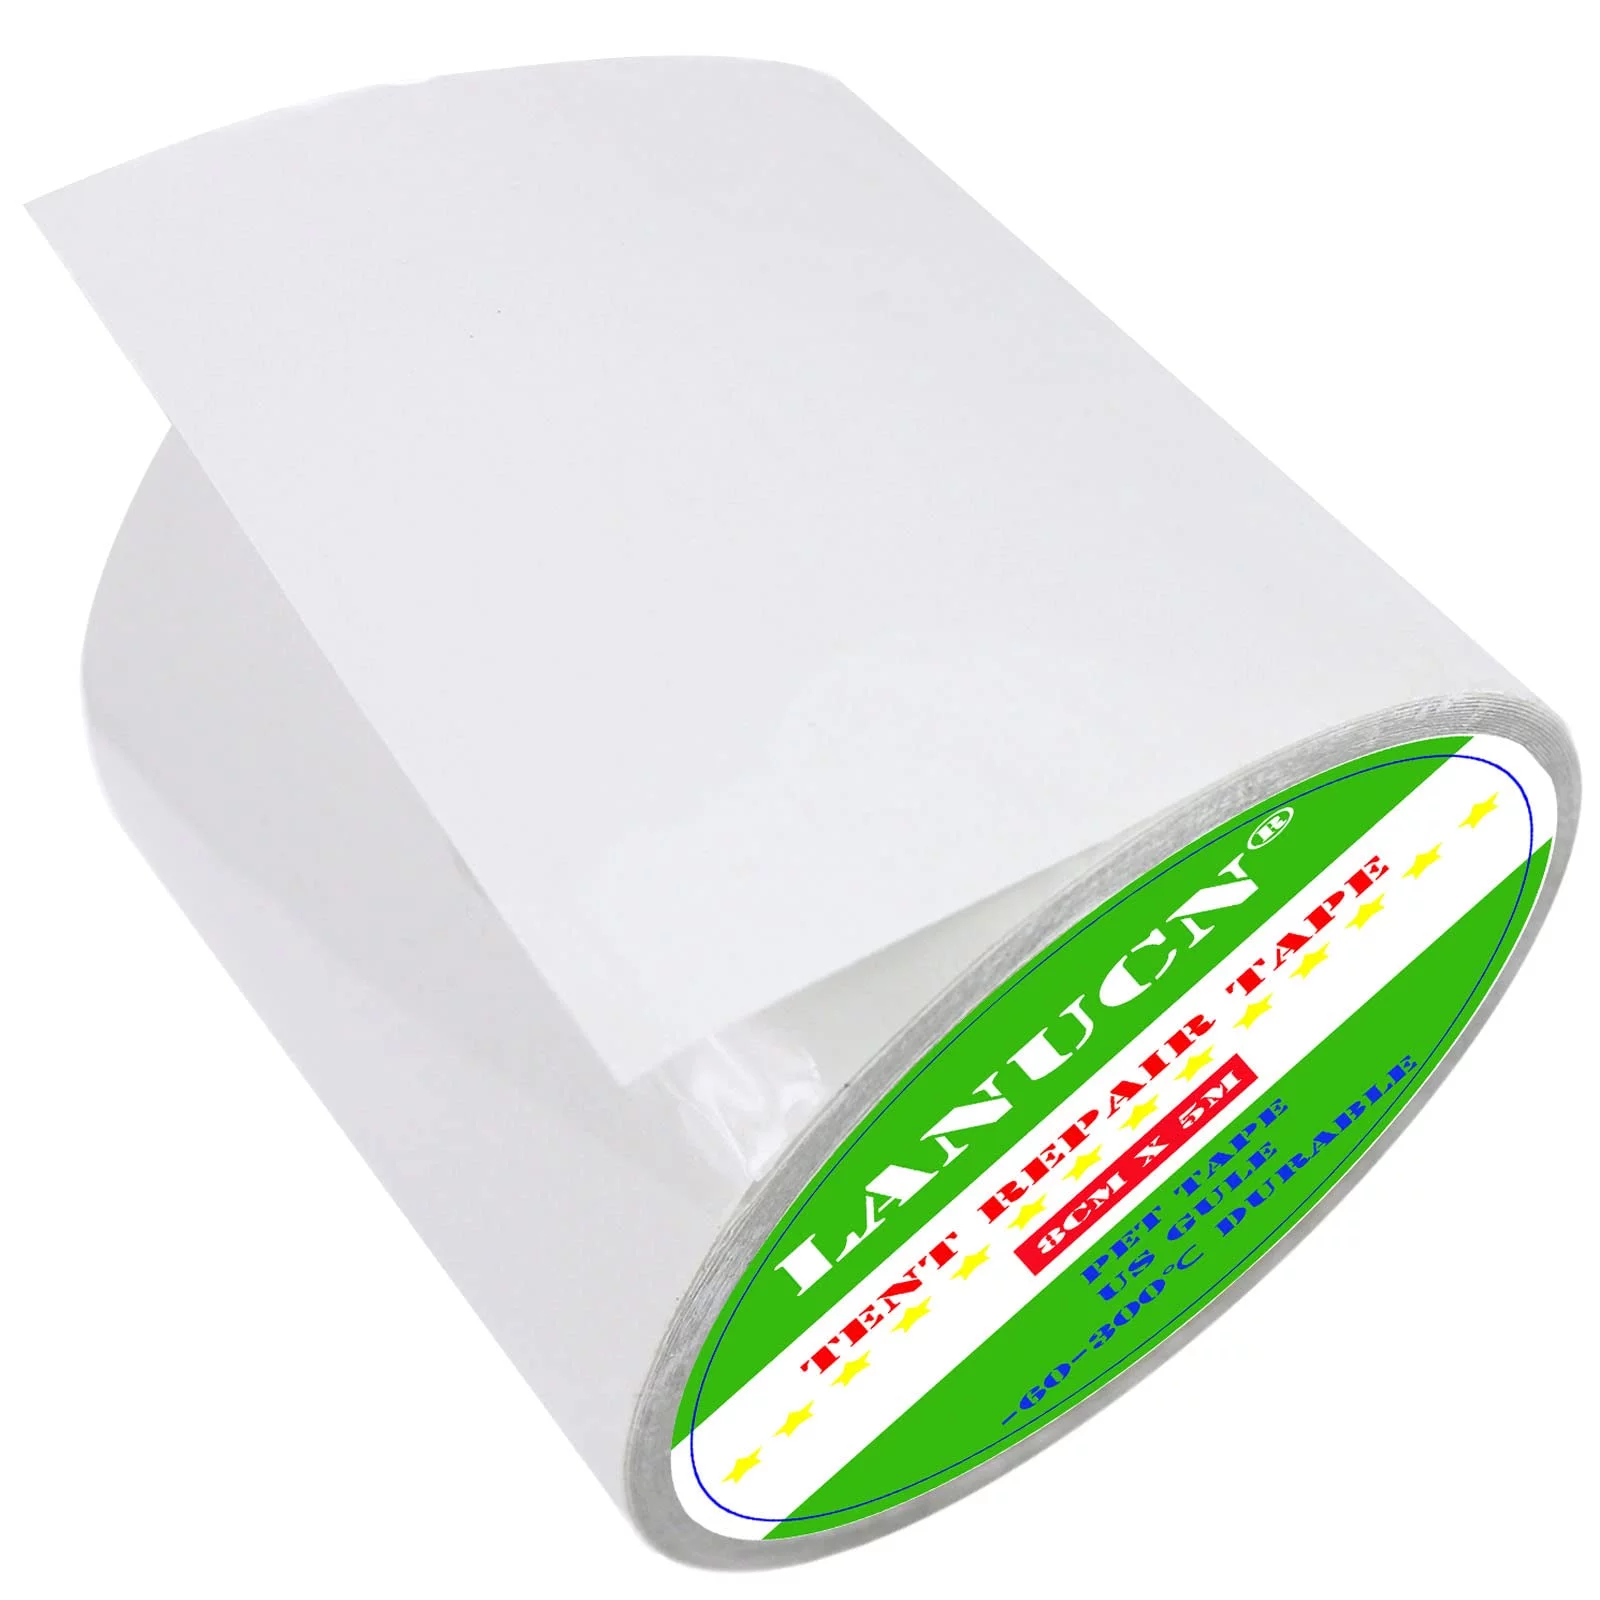
About the product
- ??Professional Tent Repair Tape?The clear tent repair tape is especially designed for PVC coated tent and similar cloth. PET tape, US gule, it is durable, flexible, waterproof, which can be used for a long time in the temperature range of -76? - 572?, adapt to any weather conditions (rain, snow, wind, sunny, desert, etc.)
- ??Ultrastrong Sticky?Glue from US, heavy duty extremely tough, highly durable, waterproof, rot proof. Super sticky can perfectly repair all kinds of tears, cracks and tears, such as PVC plastic, vinyl, coated textile, coated canvas, coated fabric, leather, glass, rubber, etc.
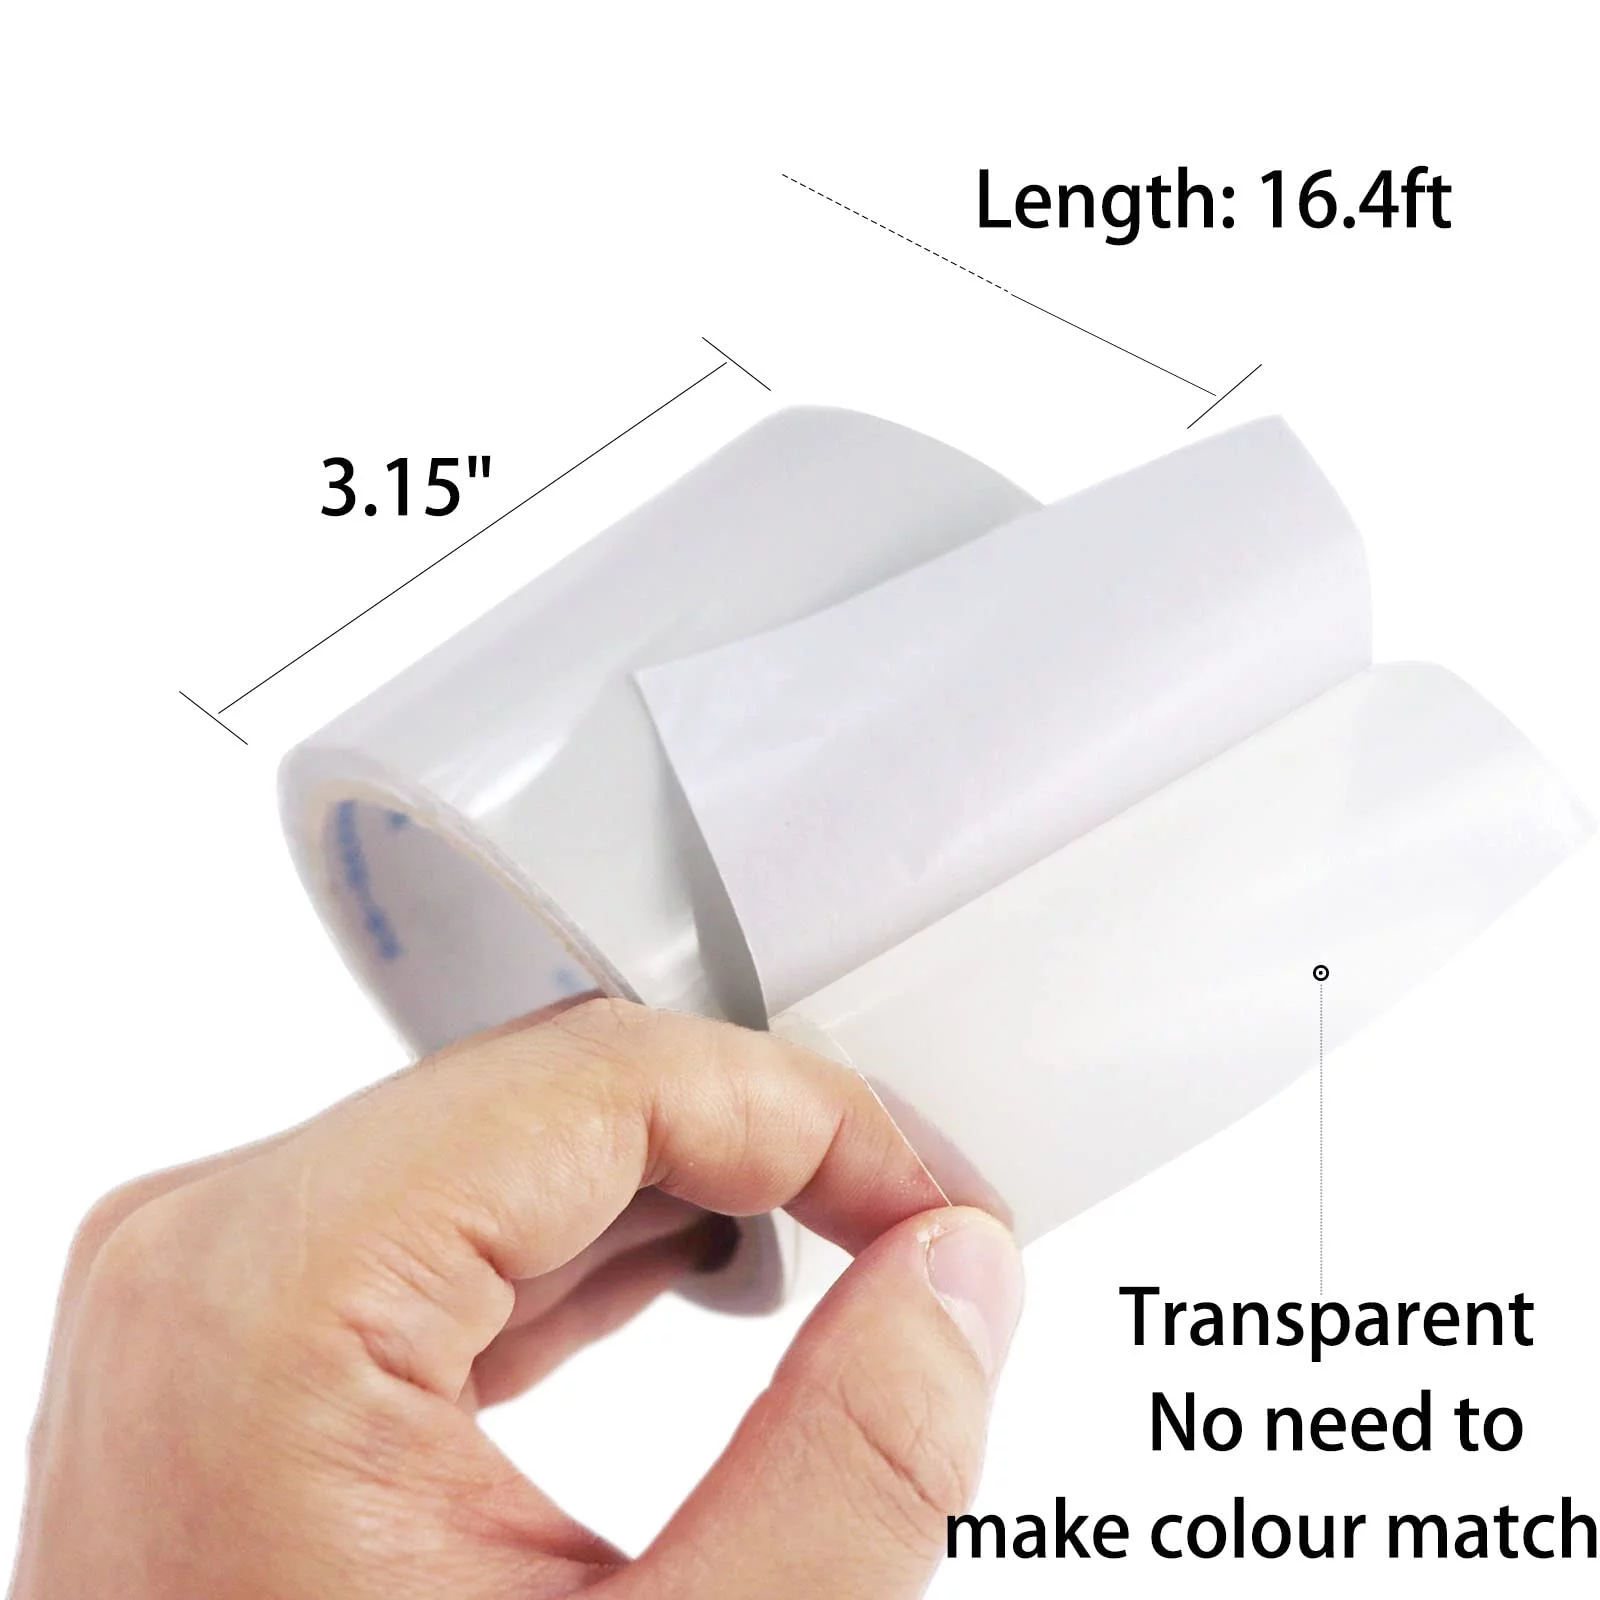
- ??Flexible and High Wear-Resistant?The rv awning repair tape is made of PET material with high viscosity and elasticity, high tensile strength, waterproof and airtight, durable waterproof repair. Tip: The flex tape is attached to the outside or use both inside and outside for longer life.
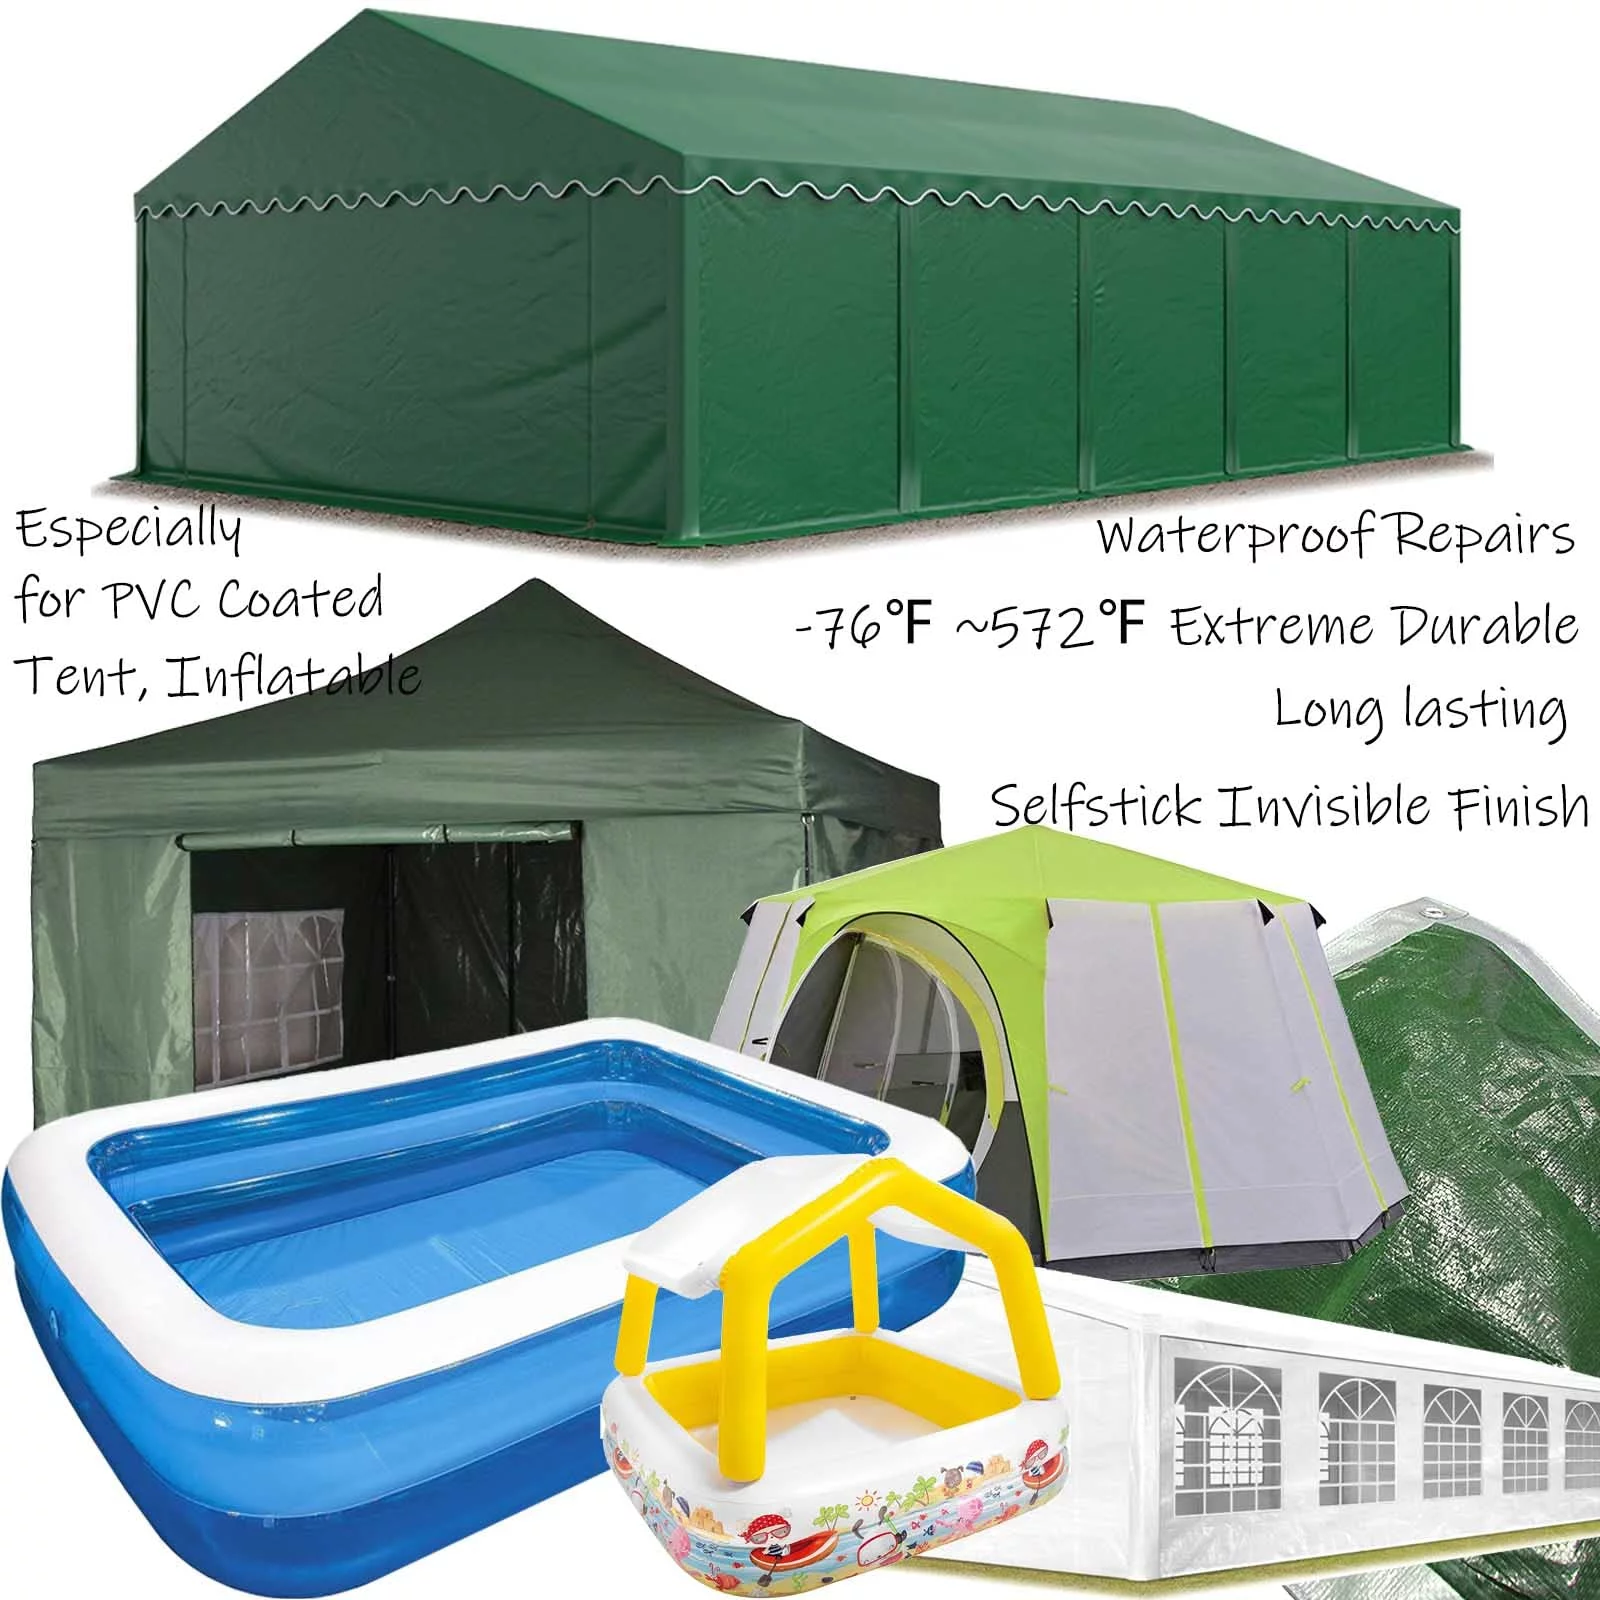
- ? ?Wide Applications?Waterproof repair tape can be used for parasols, pop-up campers, sails, tents, camper awnings, canopies, RV or boat covers, pontoon boat seats, truck covers, inflatable air cushion items, etc. for you Solve the troubles caused by using item tearing.
- ??Easy to Use?Follow the steps below, and cure for 24 hours will be more benefit. Step 1: Clean the surface to be repaired and keep it dry; Step 2: Cut the appropriate size of tape to apply, overlapping the tear/damage by at least 25mm (1\") in all directions; Step 3: Use a smooth hard tool to remove the Smooth out the center, making sure to push out any air bubbles.